MDaemon administrators can configure custom mail queues and enable content filter rules to send messages that meet certain criteria to these queues. One of the main benefits of using a custom queue is that you can configure an email delivery schedule to that queue so that emails in the queue are only delivered at specific times.
You can create any number of schedules you wish. You can also create as many custom mail queues as you want.
For example, you can create a schedule called 'Large Messages', create a queue to store those messages, and then create a Content Filter rule using the 'MOVE message to custom QUEUE' action to move messages over a certain size into that queue. If you'd like mailing list messages delivered at certain times then create a schedule called (for example) 'List Mail', create a queue, and then use a Content Filter rule to move messages with an X-MDMailing-List header into the new queue.
1. In MDaemon Remote Administration, navigate to Setup | Mail Queues/DSN | Custom Queues.
 Mail Queues / DSN | Custom Queues Menu
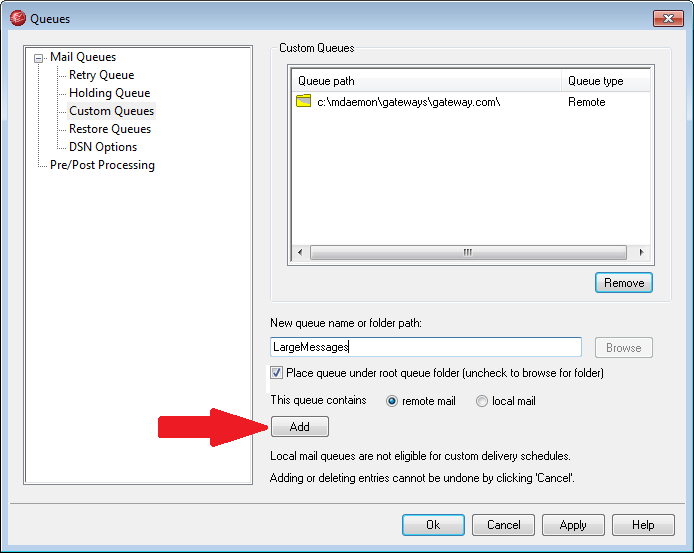
2. Enter the name of the new queue in the "New queue name" field.
 New Queue Name
3. Select whether the queue is for local or remote mail.
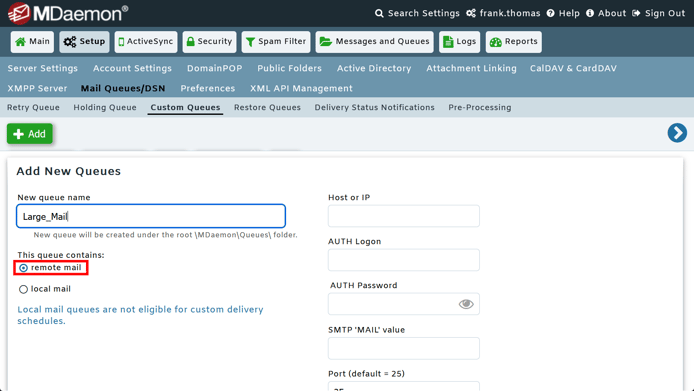 Local or Remote Mail
4. Click on "Add."

Your new custom queue will appear in the list on the bottom half of this screen.
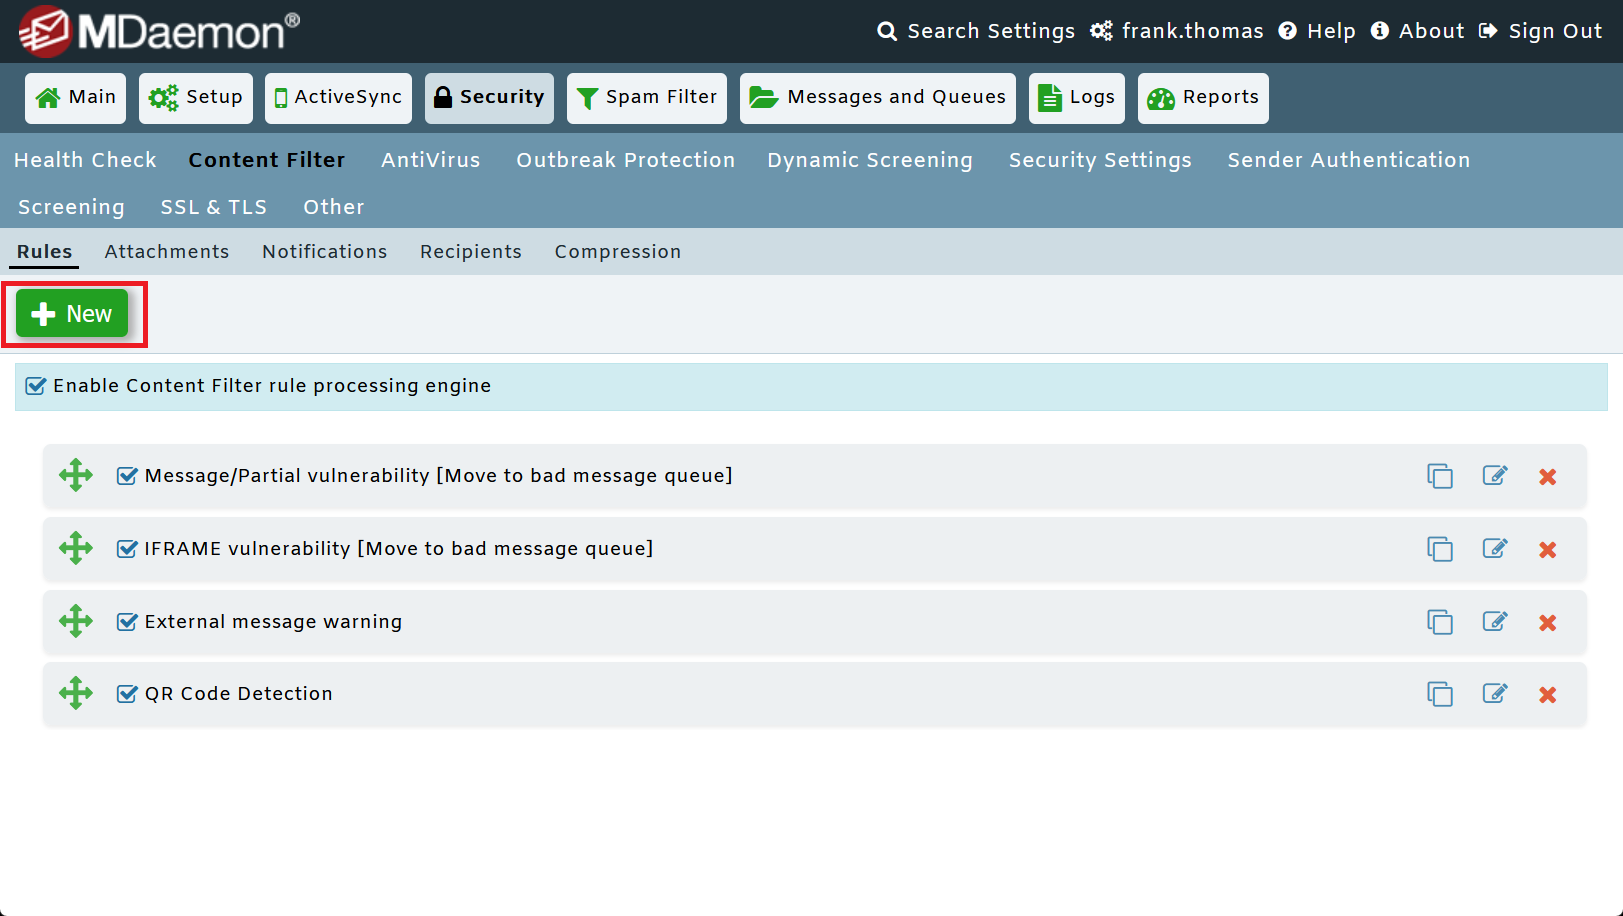
5. Open the Security menu and click on "Content Filter."
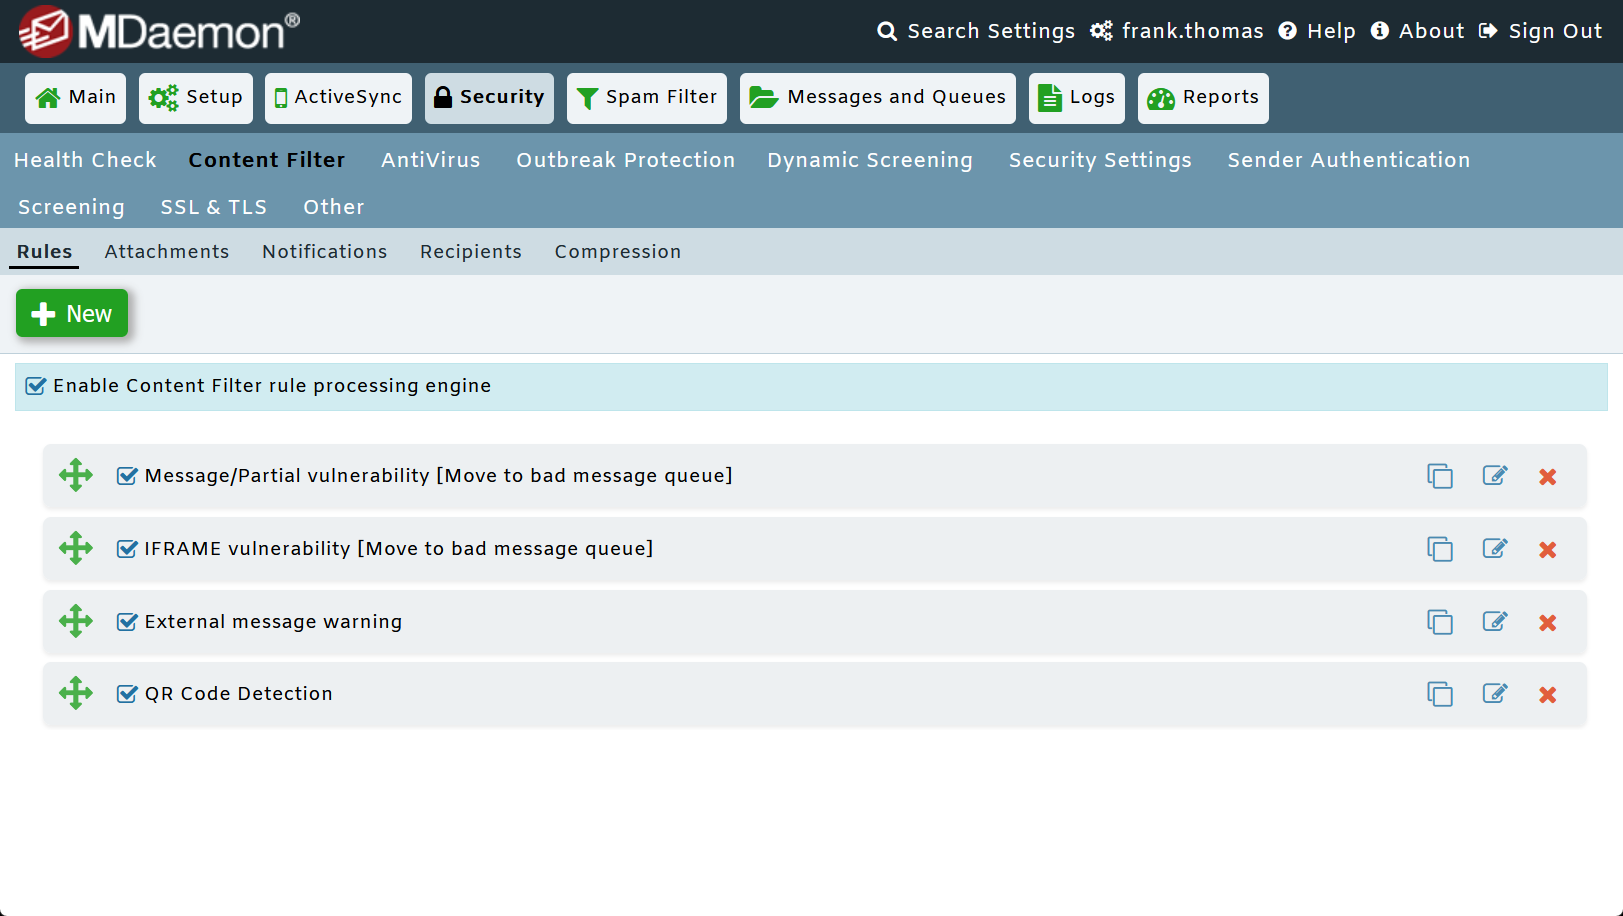
6. Click on "New".
7. Create your new Content Filter rule.
Give your new content filter rule a name. The steps here will vary based on what criteria you'd like to use (some examples include Message is larger than XX, X-MDaemon-Deliver-To header contains user@otherdomain.com, Message has .zip attachment). For actions, be sure "... Move to custom queue" is one of them and when prompted, select your new queue. Click Apply & Save and Close.
8. Navigate to Main | Remote Mail Delivery Schedule.
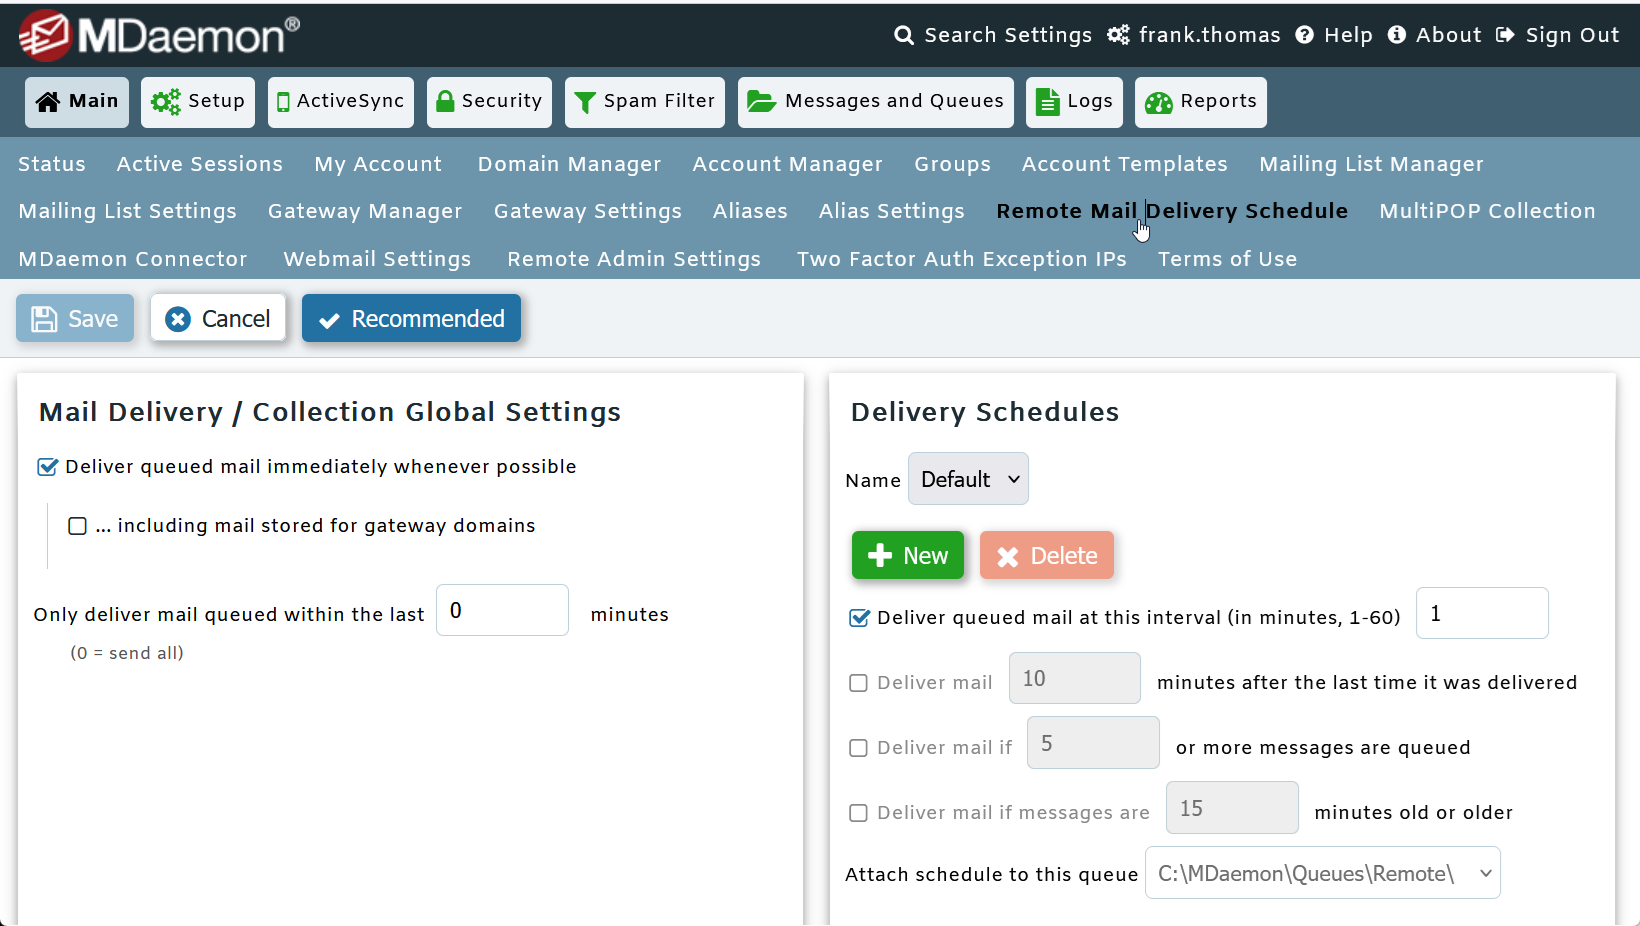
9. Click on "New" under Delivery Schedules.
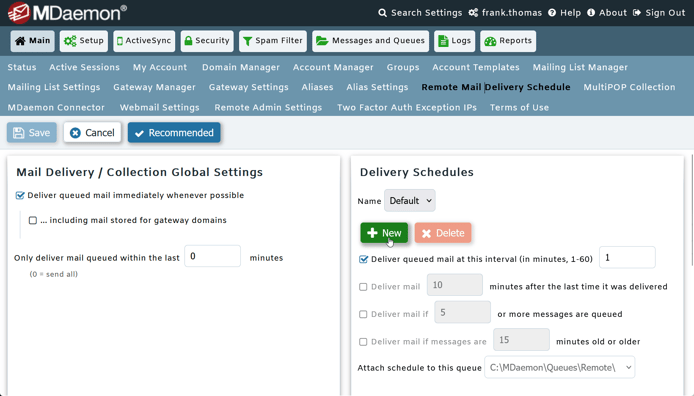 Mail Schedule Options
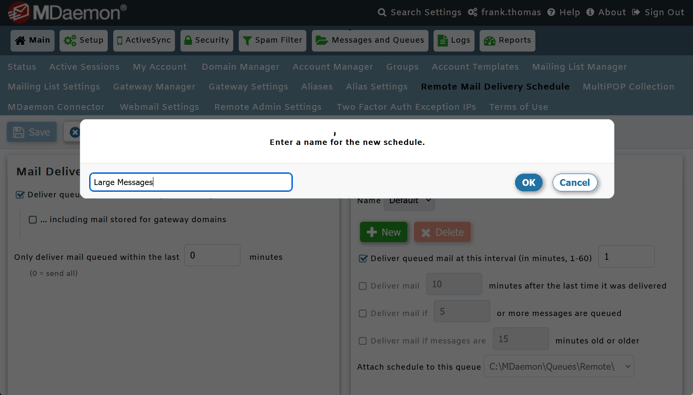
10. Enter a name for your new custom schedule & click OK.
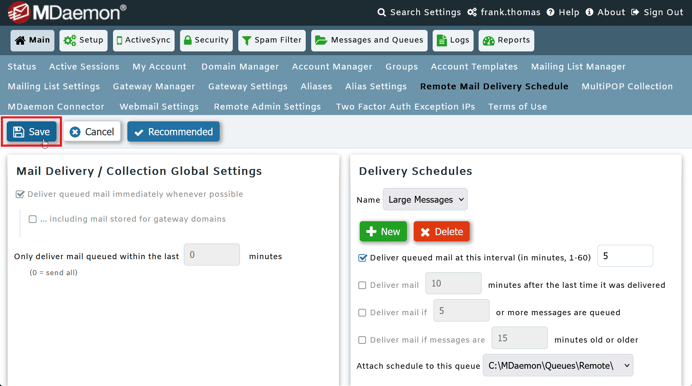
11. Configure the options for your custom queue as desired.
Select your new queue in the drop-down menu next to Attach schedule to this queue, and use these settings to deliver queued mail at regular intervals, or to deliver queued mail after certain events have taken place, such as when a specified amount of time has elapsed or after a certain number of messages are queued.
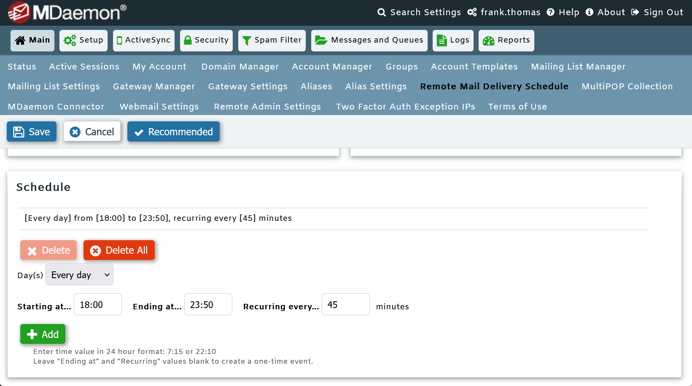
12. Configure times when the queue will be processed and other options as desired, then click "Add."
13. Click "Save."
And that's it! You can get pretty creative with custom mail queues and scheduling. If you'd like to learn more about MDaemon, click here to download your 30-day free trial.

